
Description
Adding an icon to an Odoo module helps make it visually recognizable in the Odoo Apps dashboard and module listing. You can customize your module’s appearance by adding a PNG image as its icon.
Steps to Add an Icon to an Odoo Module
Follow these simple steps to add an icon to your custom Odoo module:
- Choose an Icon: Select a suitable PNG image that represents your module.
- Locate the Module Directory: Open your custom module’s directory.
- Create the Icon Path: Navigate to the
static/description/directory. If these folders do not exist, create them. - Add the Image: Copy your selected PNG image into this directory and rename it to
icon.png.
Directory Structure
Your module directory should look like this:
your_module/
│
├── __init__.py
├── __manifest__.py
├── models/
├── views/
└── static/
    └── description/
        └── icon.png
Why Is Adding a Module Icon Useful?
- Better Identification: Makes your module easier to recognize in the Odoo Apps dashboard.
- Professional Appearance: Gives your custom module a polished and professional look.
- Improved User Experience: Helps users quickly identify modules based on their icons.
- App Store Presentation: Makes your module visually appealing when publishing it on the Odoo Apps Store.
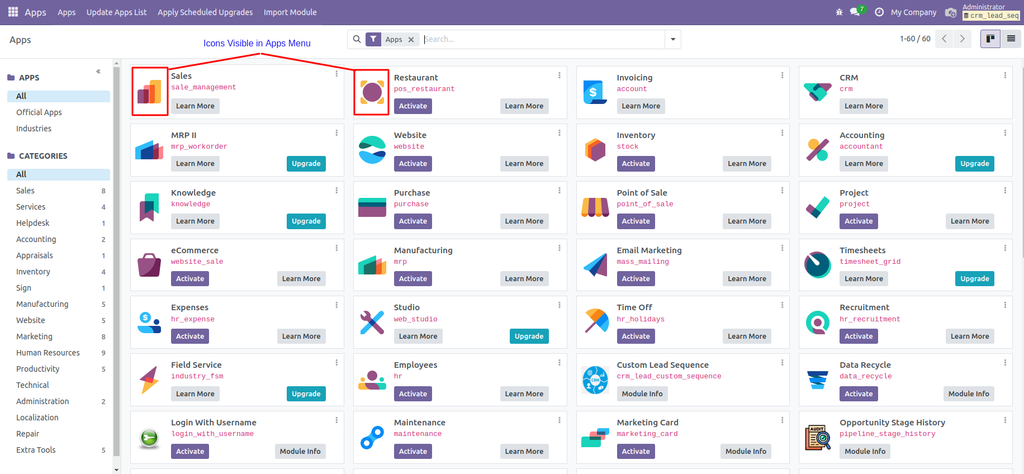
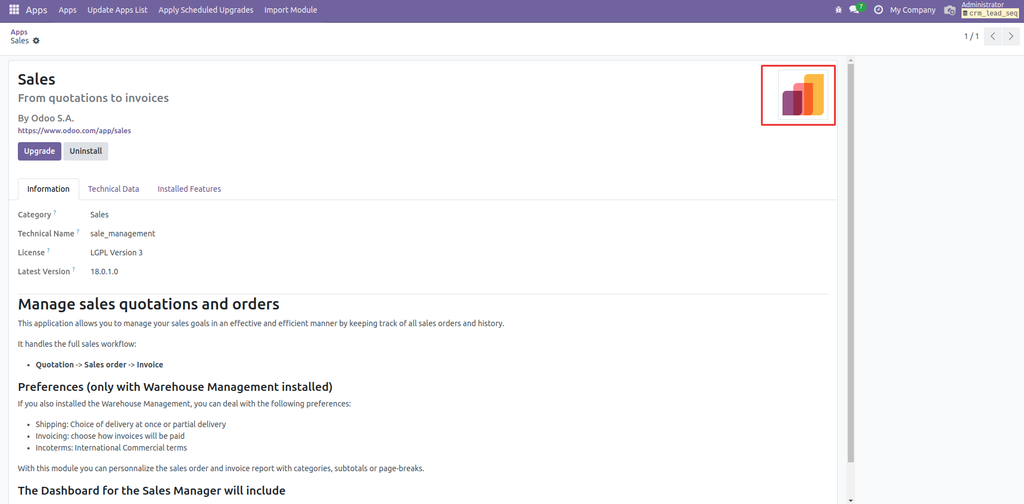
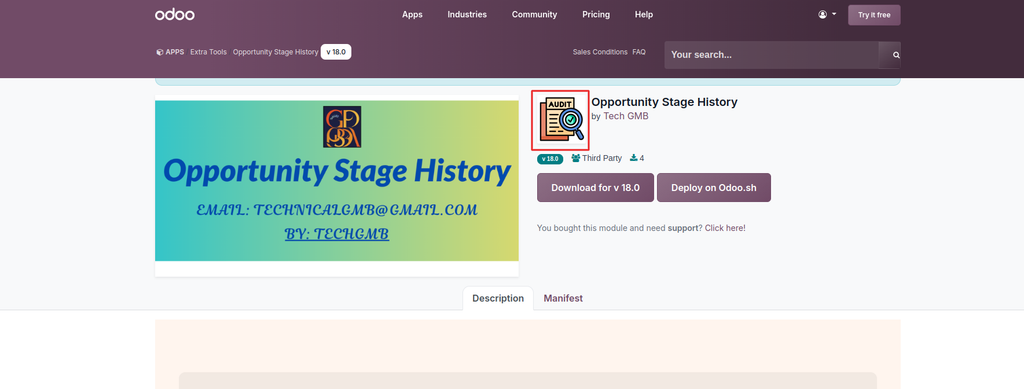
How Does the Module Icon Display in Odoo?
Apps Dashboard
Module Details
Odoo Apps Store
Important Notes
- Use the PNG image format.
- Keep the filename exactly as
icon.png. - Make sure the image is placed inside
static/description/. - Use a clear, relevant, and high-quality icon for better visibility.
Conclusion
Adding an icon to an Odoo module is a simple customization that improves its appearance and identification. Just place your PNG image inside the static/description/ directory with the filename icon.png, and Odoo can use it as the module’s icon.
Odoo automatically recognizes icon.png as the module icon without requiring any additional Python code or XML configuration.